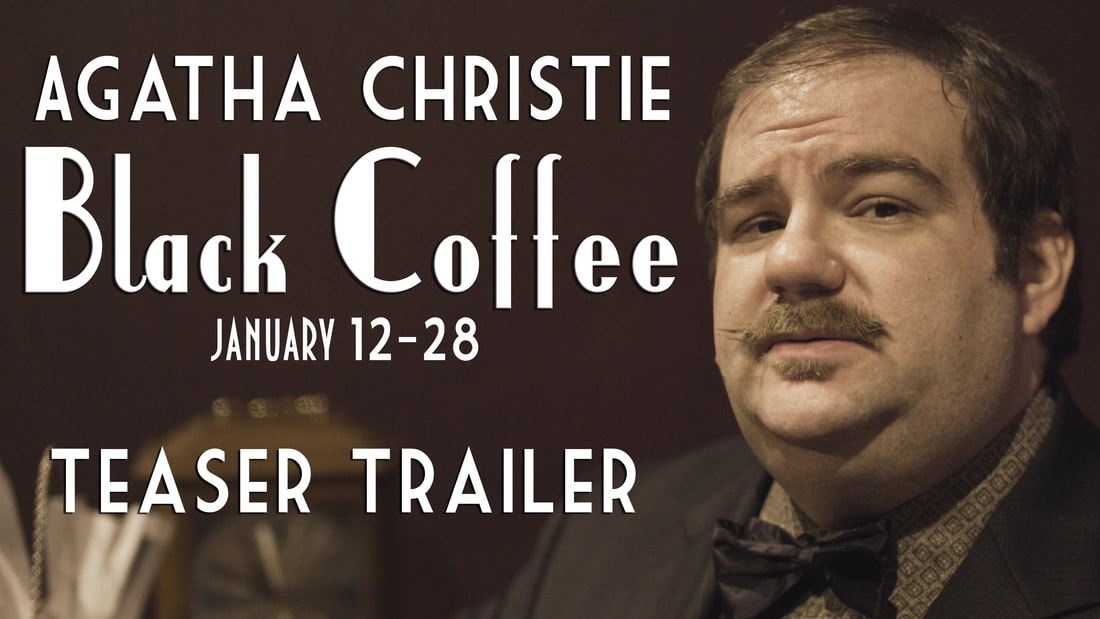
Okay - the teaser's out now, and since I promised we would, this week we're going to take a look behind the curtain at this one:
It turned out better than I expected. My mother, the director of CCCT's production of Black Coffee, came up with the concept and I shot this with only about half of a plan and no idea of how the pieces were going to come together. Not to say the concept was bad - but while I was shooting it I was having a little trouble seeing the final edit - unlike the Christmas Carol or the Titus teasers where Robert and I had some pretty detailed discussions far in advance (we even storyboarded Titus to the music track we ended up using) or even compared to the last Agatha Christie Trailer I shot, Towards Zero, which I also planned out and scripted in advance, this one was very much "shot from the hip".
I know 90% of our audience likely won't watch it in 4K, and probably less on an actual 4K monitor, but since both platforms now support 4K streaming, I thought it was a perfect chance to try out the workflow of shooting and delivering 4K. (By the way, it looks awesome streaming 4K from YouTube on my 4K 55inch Sony TV .)
Now I do realize that's not too much of a challenge for myself - I've been shooting in the delivery format for years - everything I shot for Stop The Threat was shot in 1080 and delivered to the network (and now Amazon) in 1080. The biggest challenge in shooting and finishing in 4K is dealing with the strain on the post workflow. So, in an attempt to make it look as good as possible - and challenge myself a little more - I decided to also shoot it in s-log 2, which meant that the A7s was shooting at a whopping 3200 ISO under stage light, and I wanted to shoot wide open at T1.8 so that the background fell off and we could focus primarily on the actors' eyes. That's where the filter came in: 3200 ISO under stage light with that fast a lens is insanely bright, so I knocked it down more than a few stops with the filter, set my exposure off a grey card and there we were. Long story short, once everything was all said and done, I had 10 "scenes" of one or two takes each all in DNXHR 4K - approximately 17GB for about 5-10 minutes of footage all in all.
I did the color grade in DaVinci Resolve because its just generally the better tool to use than Lumetri (Adobe Premiere's color tool) when you're starting with s-log video, but also because after I played with Davinci on the Titus trailer, I realized just how much more sense it made to do the color correction and grading in a node based environment. Take a look at this:
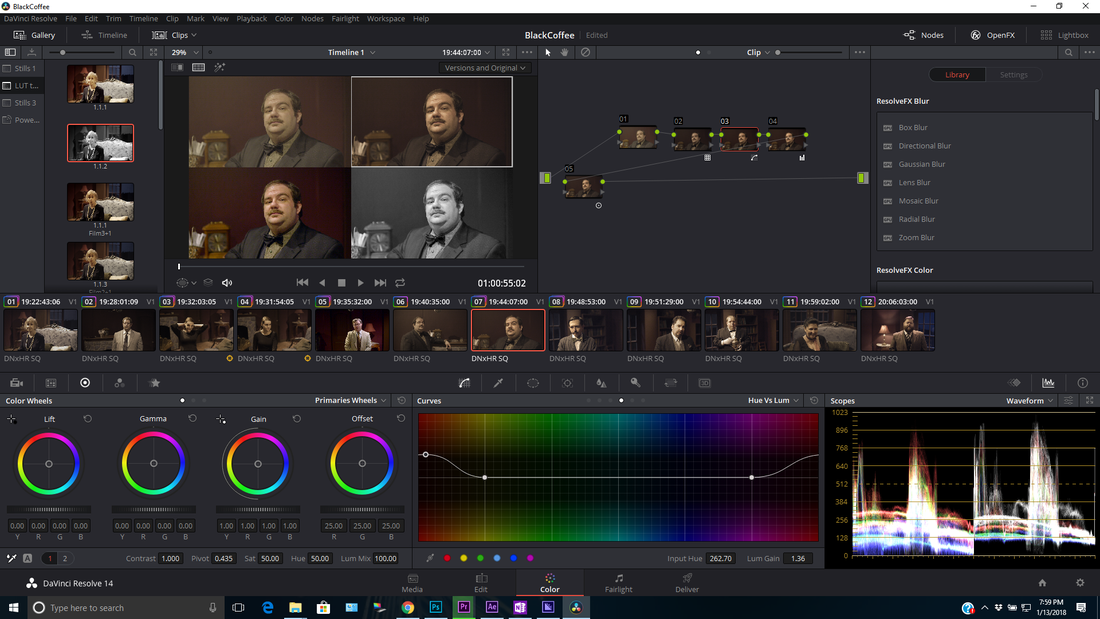
DaVinci Resolve workspace for the Black Coffee Trailer
So obviously its a lot to take in if you've never looked at Resolve before, but a basic rundown of why I like working with it for color: On top left you see the still gallery - I can pull freezes from other clips and it saves the color correction which makes it really easy to "copy/paste" different looks on different clips in a hurry.
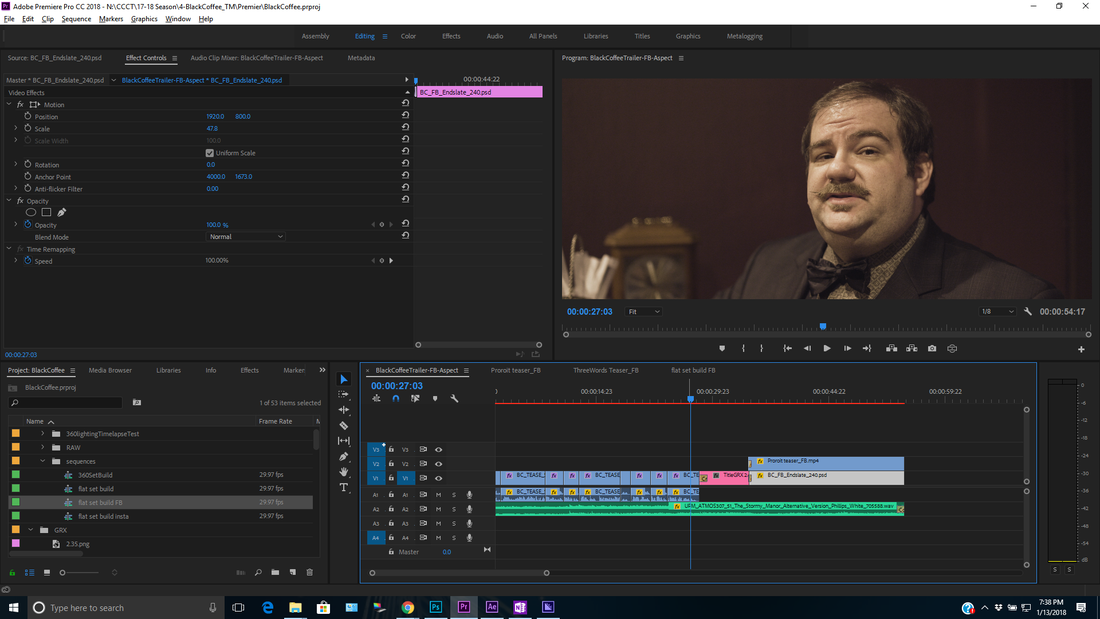
In the middle top is the player, which in this screenshot I have displaying the 3 versions I was looking at, plus the original - the thing about shooting with any "log format" video is that its very flat - this gives you a lot of range in post - much like a film negative - but because of that, color grading it is a much more involved process. The original is the top left, the version I ended up using in the top right, and the other two options on the bottom. The top right of the screenshot shows you the nodes - at first its hard to make sense of but once you do, you realize that it just makes so much more sense than the way Avid or Premier approach color correction. And that really goes for the entire piece of software - once you get past looking at something in a different way you realize that it just makes sense. Anyway - tech talk aside, the next step was choosing a direction for the color correction and going with it. After looking at a few options (including black and white) I ended up choosing one that favored "reds" and was crisp and clear - partially so the skin tones popped a little more, but also so the background would look good since much of the set is also a shade of red. If I'd had more time, I would have gone deeper in DaVinci and used masks to separate the cast from the set - allowing me to make their skin tones pop but mute the colors of the background with a little more control. But I basically got the whole video turned around in about 4 or 5 hours of work total. (not counting export time) Once I had my color done it was a simple matter to export the looks from DaVinci and drop them on the video in Premier and then I queued up the exports. a 16X9 4K version for YouTube and a 2.40 cropped "4K" version for facebook - again to experiment and challenge myself. And if you're wondering - yes, facebook supports cinema aspect ratios without letterboxing - check it out:
I haven't played around enough (or just looked it up!) to find out if YouTube also supports non 16X9 videos - last time I checked they didn't, but that was a while ago.
At the end of the day the aspect ratio its good for Facebook because the letterboxing isn't needed in the way Facebook presents the video, while on YouTube most of the audience will be watching on 16X9 screens anyway, and YouTube's player is 16X9, so there's not a lot of need to try to dig further than that right now.
|
AuthorThomas Meek is an independent filmmaker living and working in Houston, TX Archives
March 2021
Categories
All
|
 RSS Feed
